(Writer: Dylan Mackenzie)
We are thankful today to be able to edit footage in a non-destructive and reversible manner using non-linear editing software on a computer. But in the days of shooting with movie film, basic editing was done by physically cutting the film and splicing the scenes together in order to tell a story. If you were a home moviemaker back in the day shooting on color reversal film such as Kodachrome, the reel of film you have is the original film used in the camera to shoot the movie and cutting the film had to be a very well thought out process because once you cut the film, you can’t go back. Cutting and splicing film for home movie makers was mostly reserved in order to join multiple reels of film into a larger one or to fix a section of damaged film to salvage what is still watchable.
Over the past two years I’ve been transferring my late grandfather’s old super 8 movies shot from 1966-1973 to a digital file in order to preserve them for future generations to enjoy. While doing this I recently came across the issue where some of the leaders have been chewed up in the past due to either improper threading onto a projector or becoming brittle due to old age. While I could’ve just trimmed off the mangled leader and ran it through the projector, I decided it was not worth the risk of a threading error damaging the actual film which is not replaceable so I decided to splice a new film leader onto the intact leader in order to reduce the likeliness of damaging the actual film and share with you how to do this yourself using a splicer if you ever decide to have your film reels digitized. For this tutorial I will be using a Kodak Presstape Splicer but the method should be pretty much the same on other tape splicers.

The first step to making a splice is to line the film sprockets in the corresponding pins up to the frame where you want to cut the film. Make sure that the pins you are putting the film onto line up with the film gauge that you are using in order to not damage the sprocket holes! Regular 8mm and 16mm film share the same pins but super 8 does not! Regular 8mm/16mm film have larger sprocket holes that can fit a toothpick through and Super 8 cannot fit a toothpick through its sprocket holes! Once you have determined the correct pins to use, lower the cutting blade to trim the ends that you intend to splice one after the others.
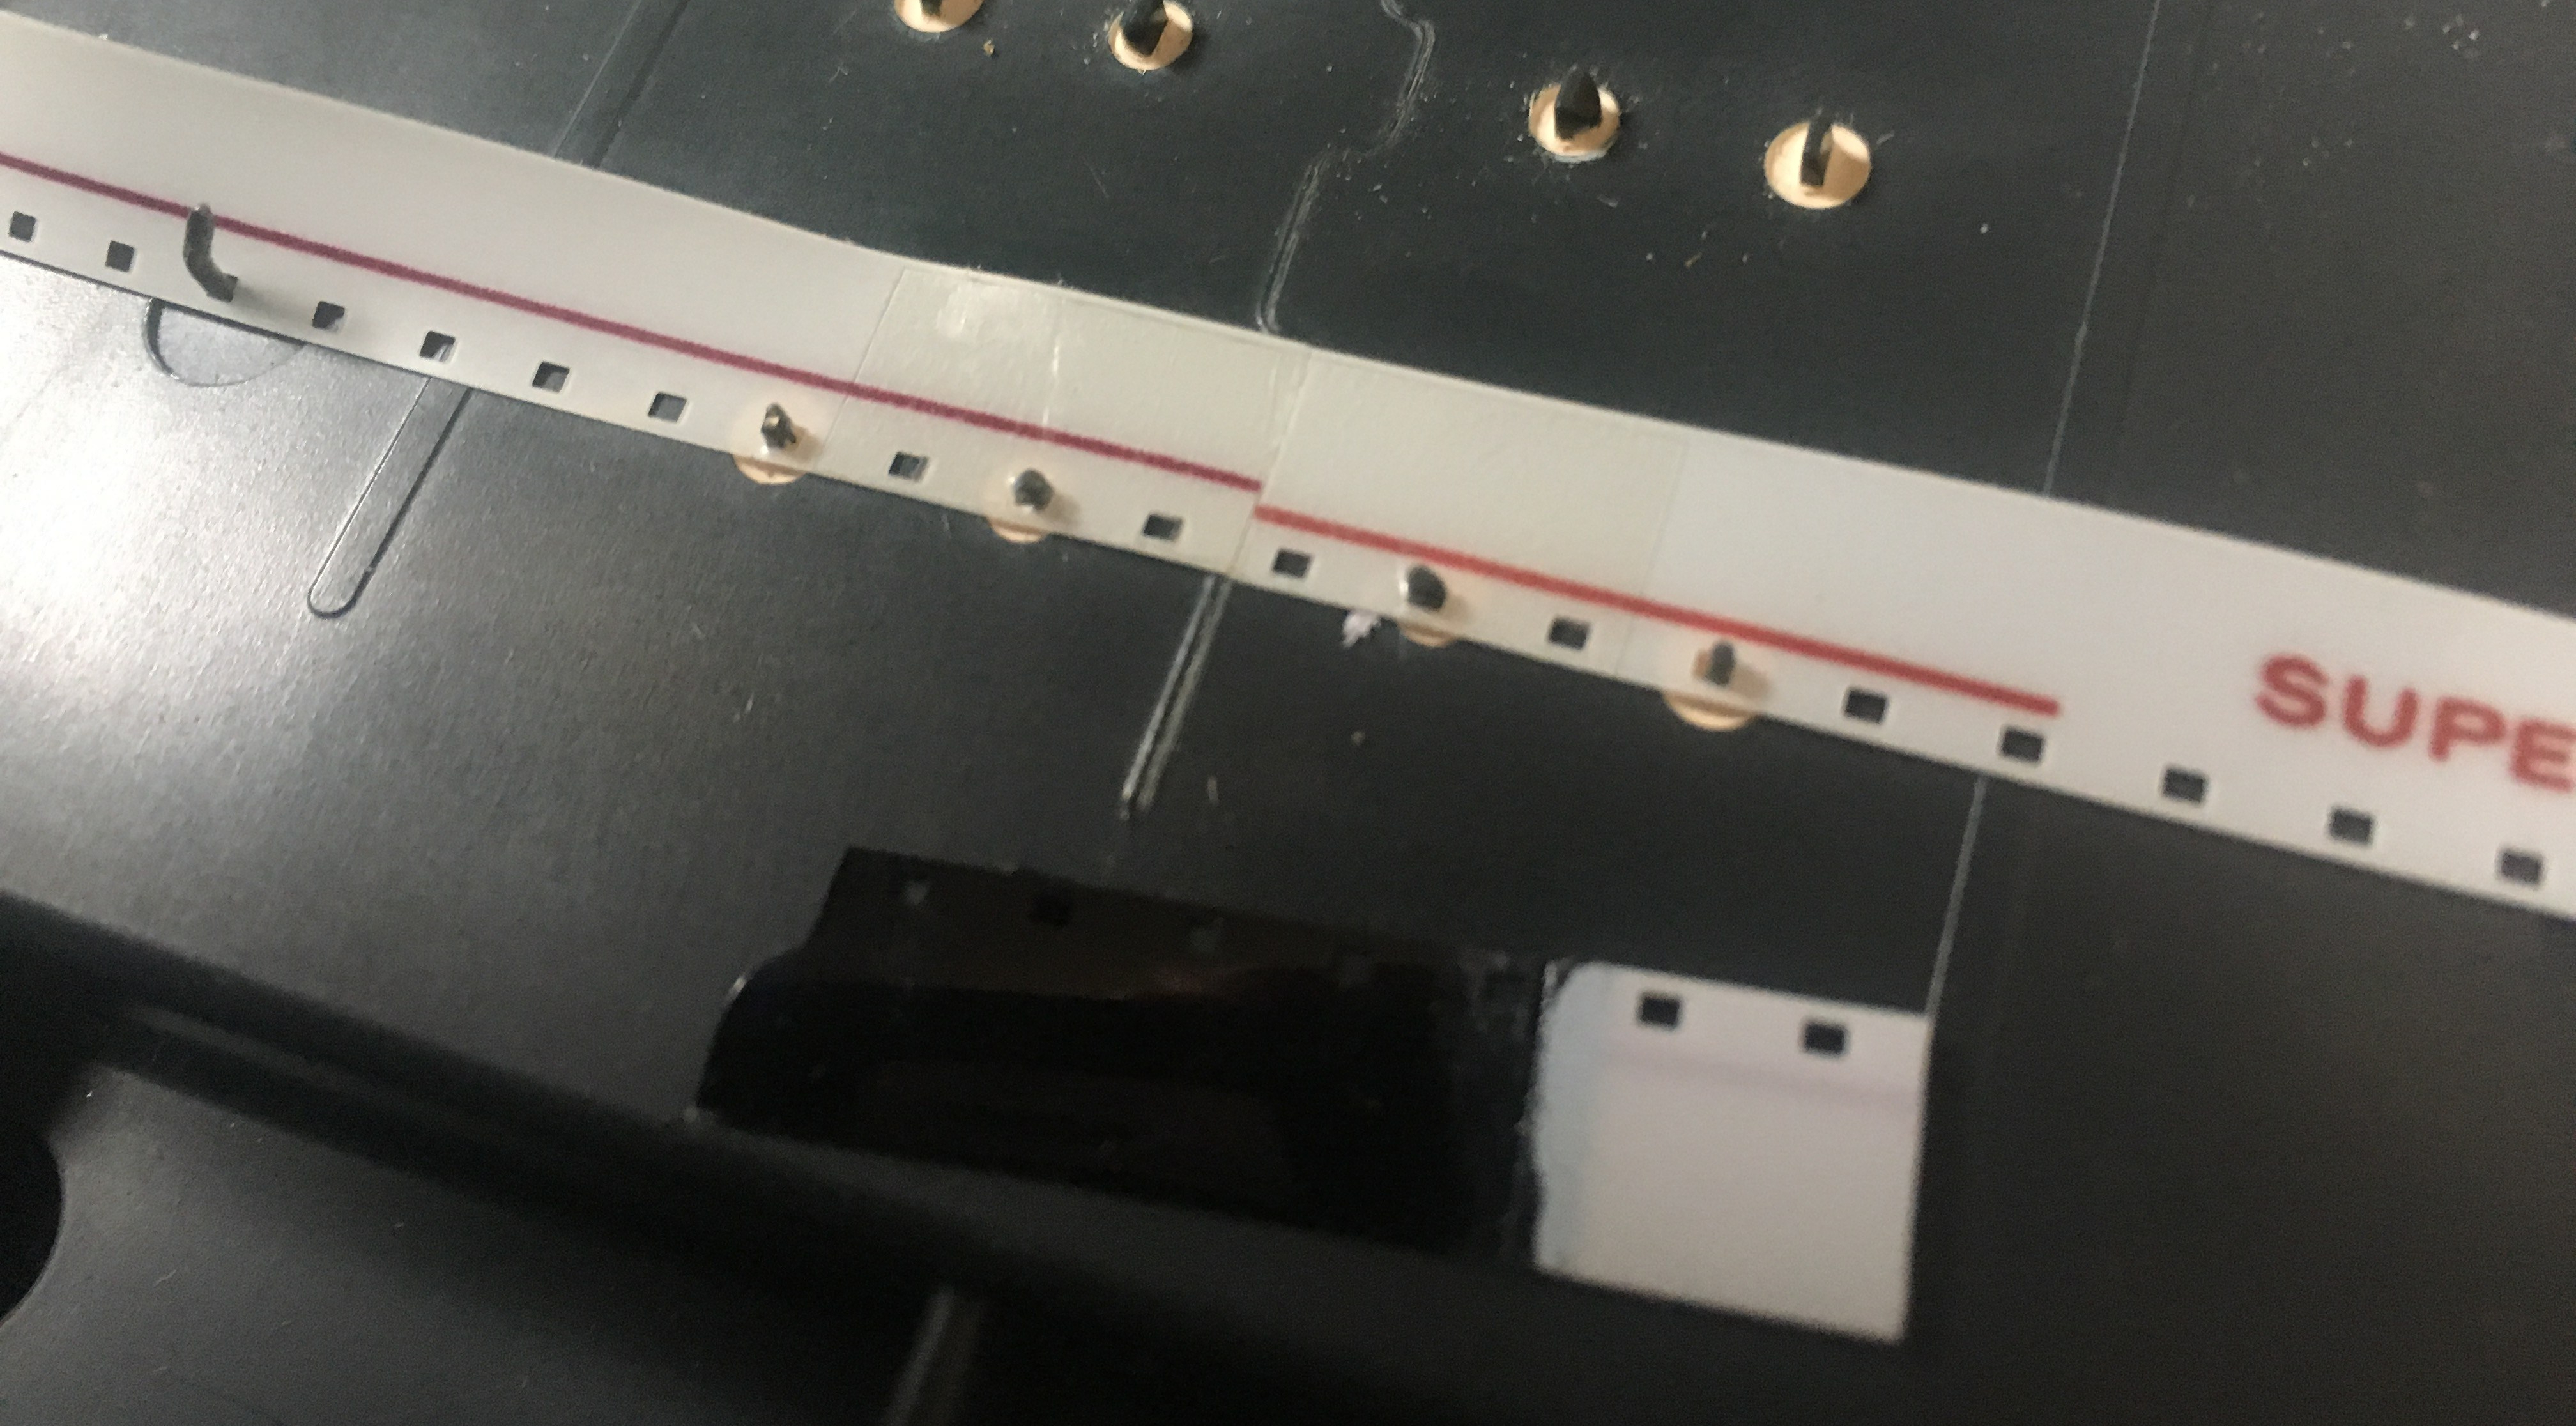
Once you have trimmed the beginning and end of the clips in the splicer. Place them end to end in the splicer lining them up using the provided pins. Once the film is lined up you can start applying the first splice tape to the cut films. Line up the center of the splice tape to the cut line and the film. Hold one end of the splice tape and peel the other side like a band aid onto the film. Repeat the last step for the other side of the splice tape. Using either you’re fingernail or the smooth back end of a pen, make sure that the adhesive is properly applied and free of air bubbles. You have now completed the first half of your tape splice!
Now flip the film over and repeat the steps listed above. Once you are done visually inspect the film to make sure that there are no defects such as gaps, misalignment, uneven distances between sprocket holes, air bubbles, creases in the splice, or tape covering the sprocket holes. Before running the film through a projector make sure to pull gently on the splice to make sure it will hold together while it’s being projected.